
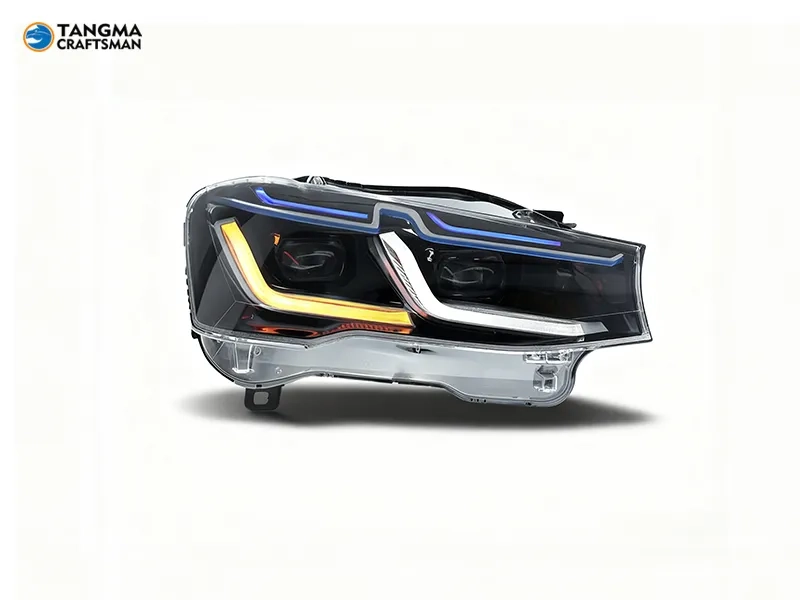
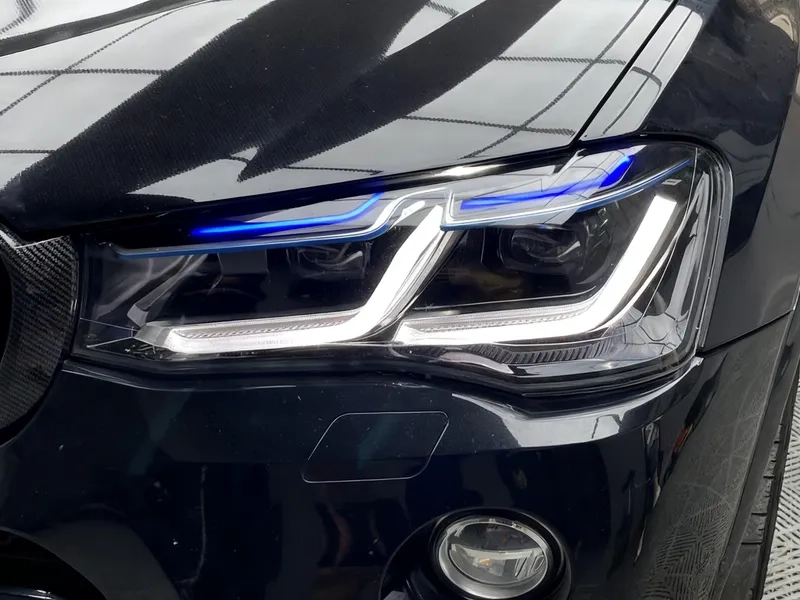
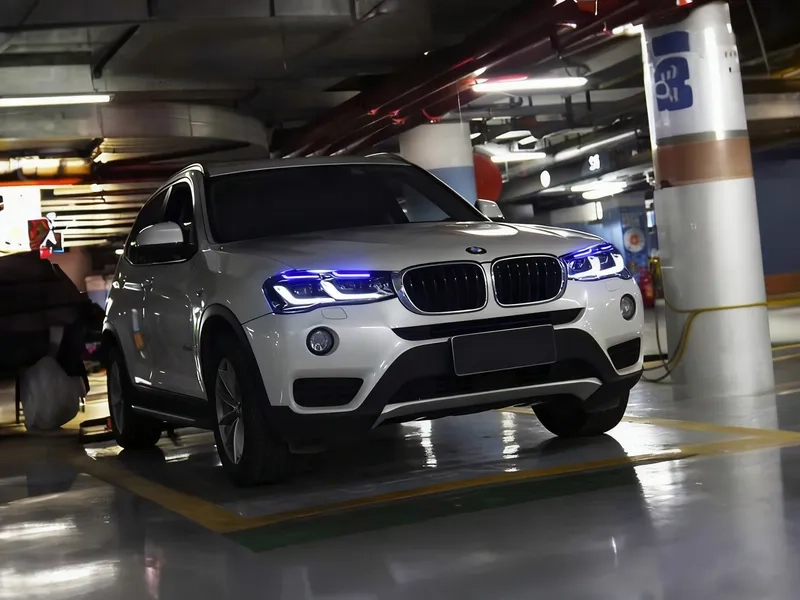
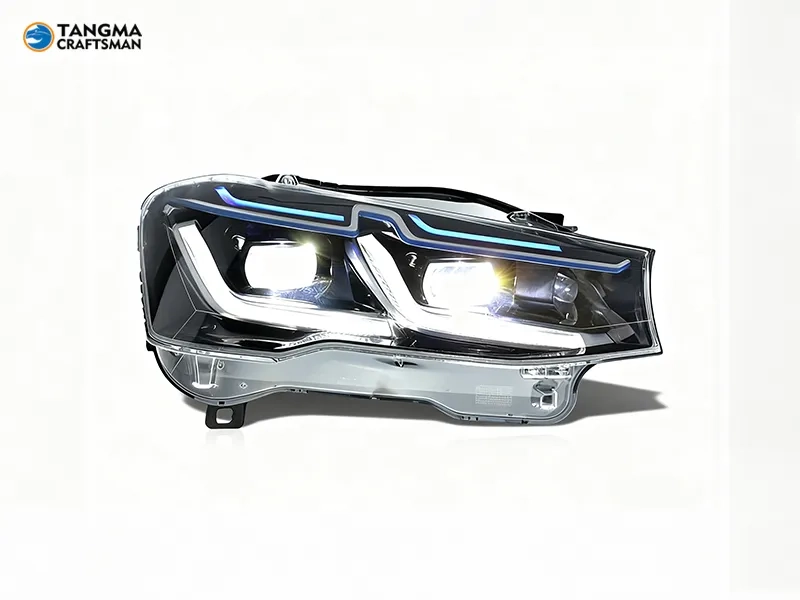
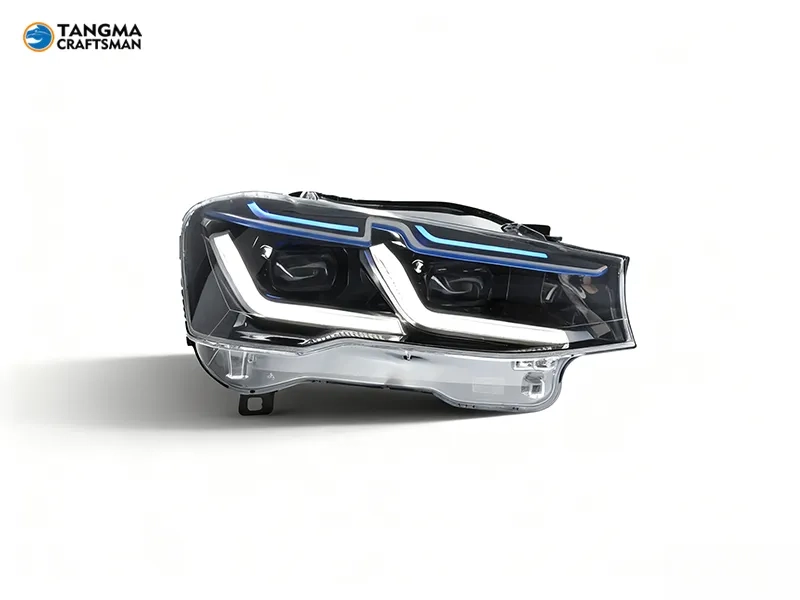
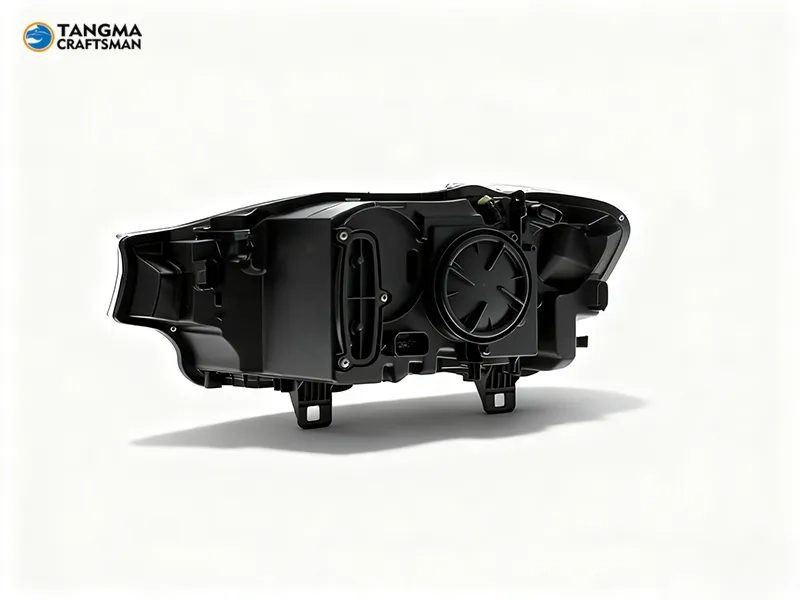
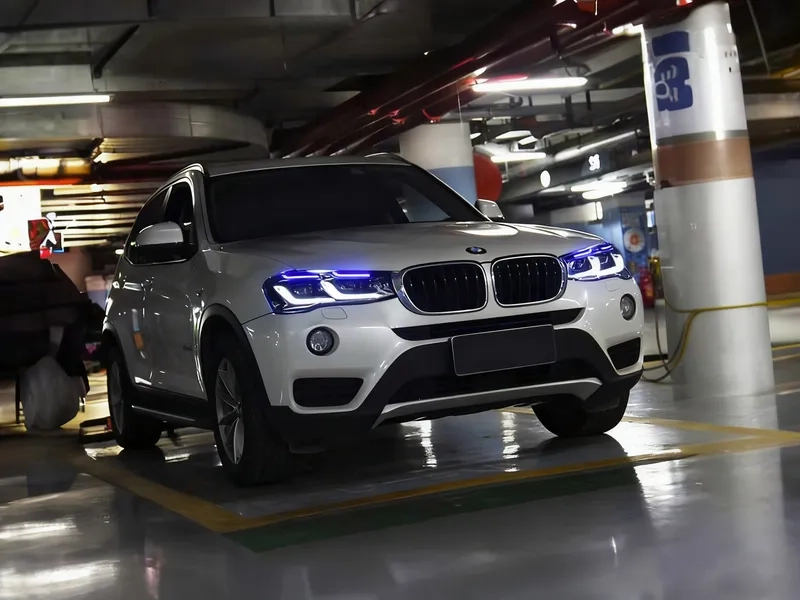
2010+ BMW X3 LED Headlights Blue DRL F25 F26 Upgrade
Original price was: $591.00.$516.00Current price is: $516.00.
Lighting Fitment & Wiring Support
Confirm model year, original lamp type, plug shape, left-hand or right-hand drive, and whether coding or adapter wiring is required.
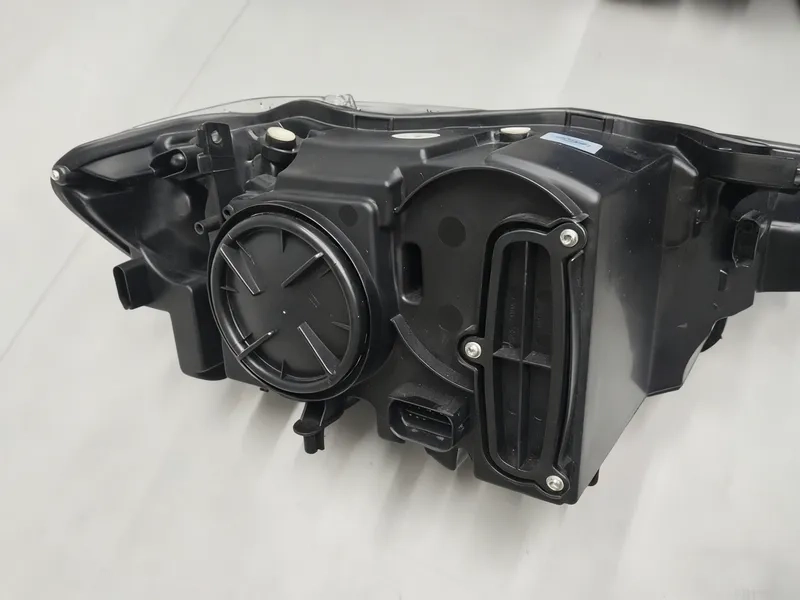
Lamp assemblies are checked for lens finish, housing condition, DRL/turn-signal functions, and connector compatibility before packing.
Lighting products use protective export packing to reduce lens and tab damage during international delivery.
Support covers fitment checks, wiring questions, and delivery damage documentation after receipt.
Vehicle Compatibility
- Make
- BMW
- Model
- X3
- Chassis
- F25|F26
- Market
- Verify before order
- Steering
- Verify before order
- Fitment Verification
- Required
- Model Year
- 2010–2017
Compatibility Summary
Vehicle: BMW X3. Verified year range: 2010–2017. Final fitment verification is required before installation.
🔒 Secure Payments & Worldwide Shipping


✔️ 14-Day Refund | 🚚 Fast DHL / UPS / FedEx Delivery | 🌎 Global Delivery
Description
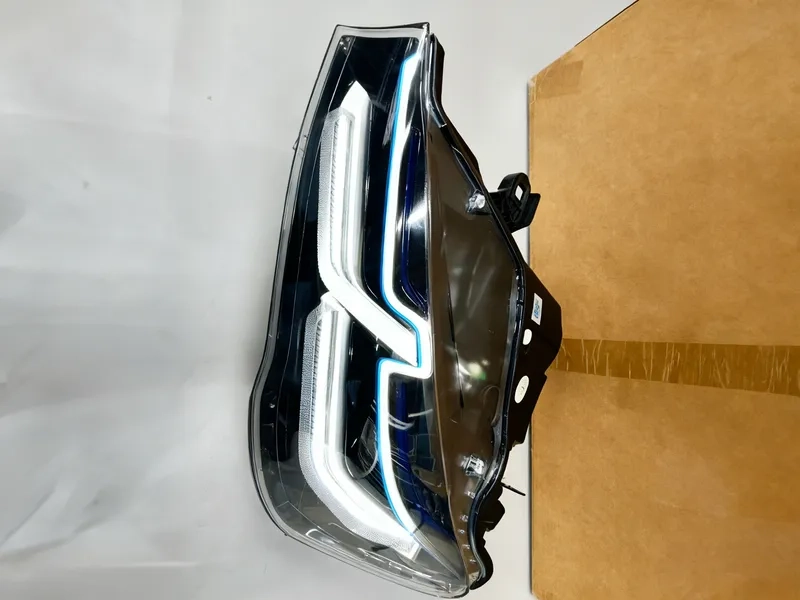
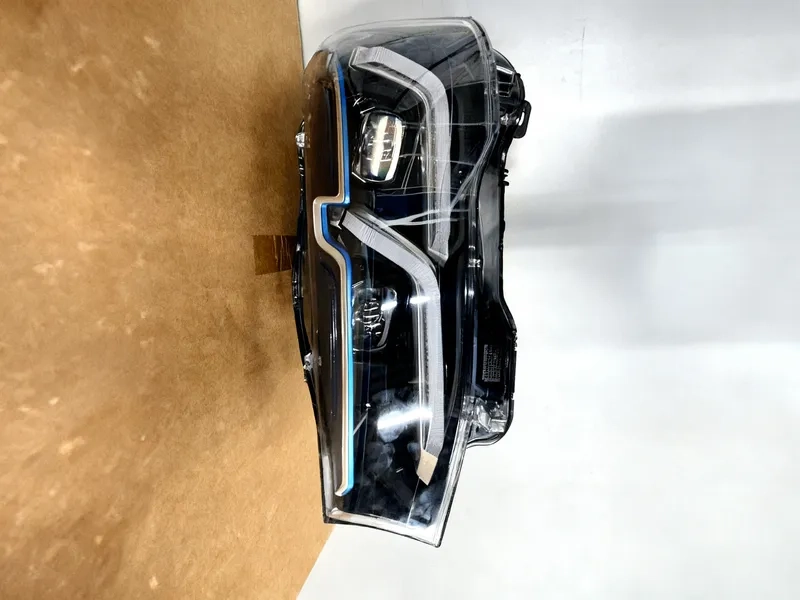
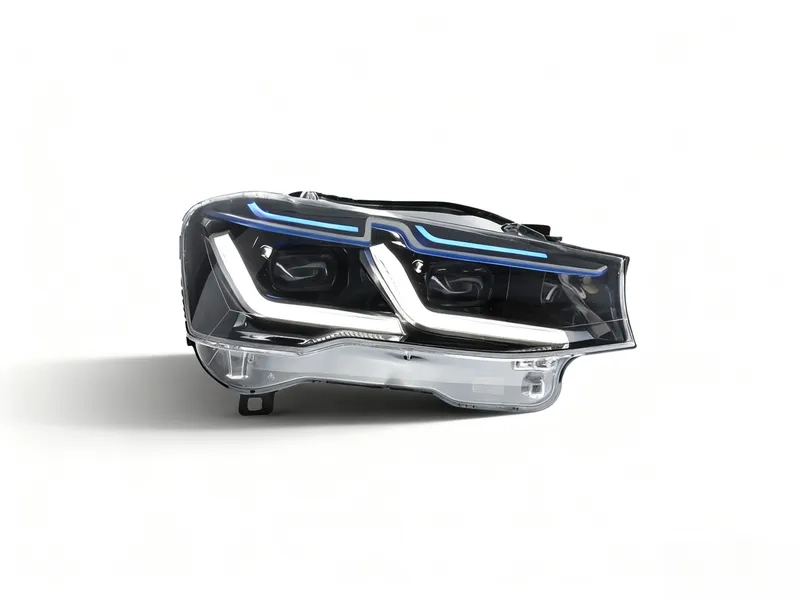
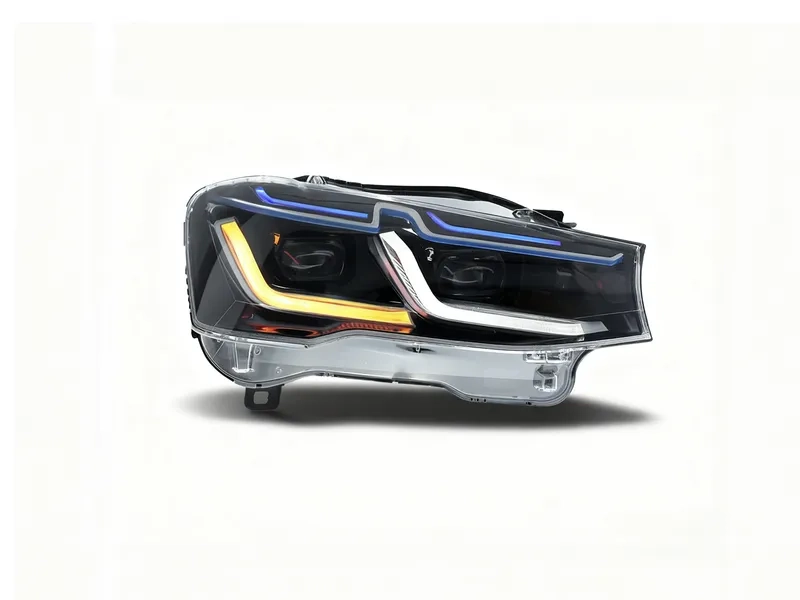
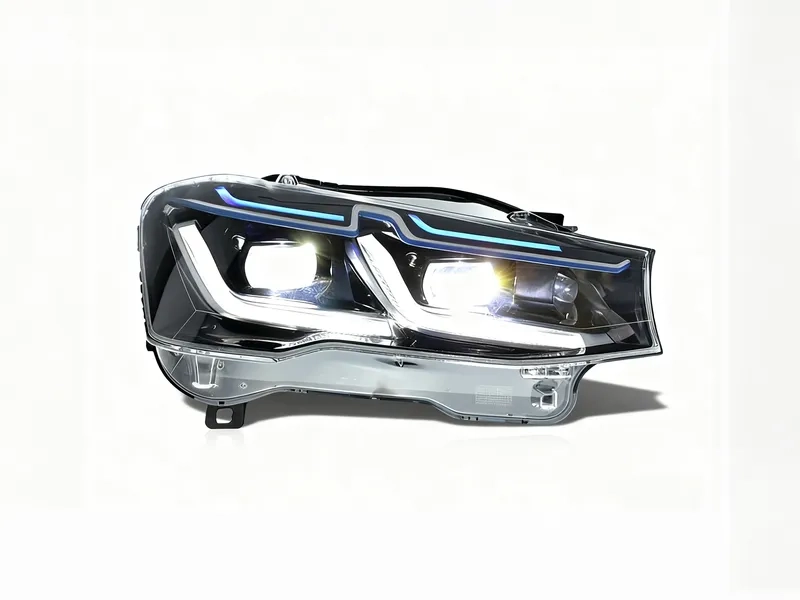
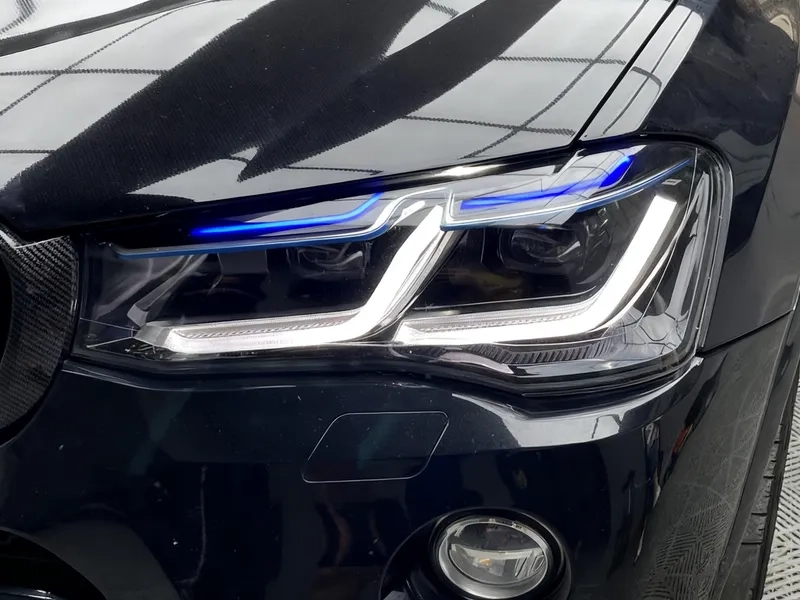
2010+ BMW X3 LED Headlights DRL Blue Bezel
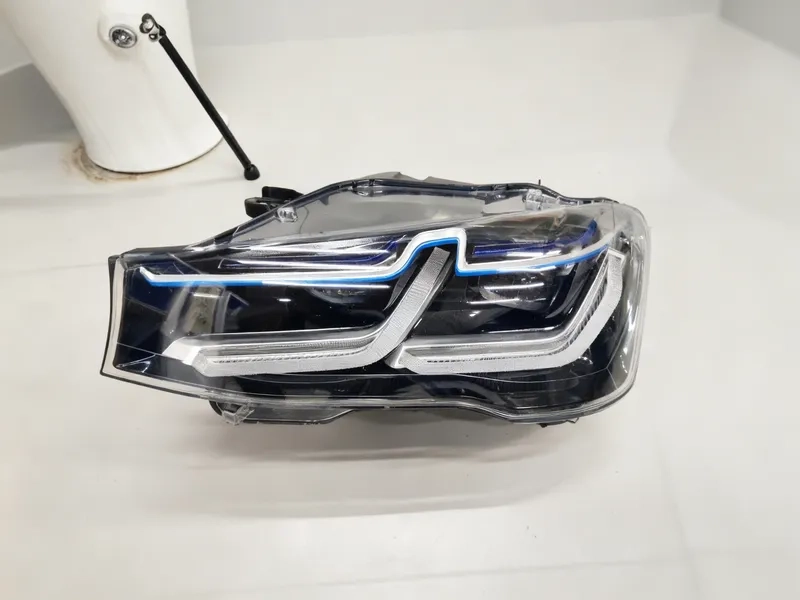
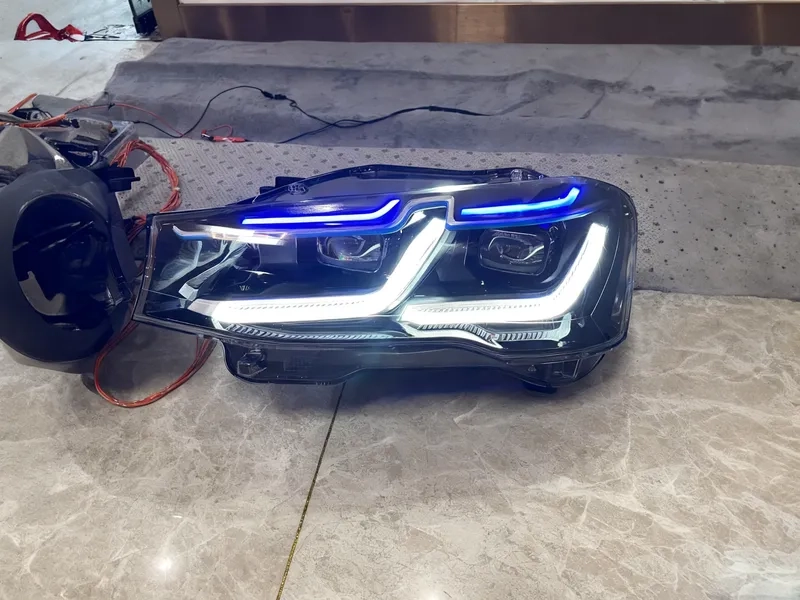
Lighting Specifications and Fitment DRL Blue Bezel: Upgrade F25 F26 with G-Style LED & Blue Accents. Plug & Play for 2010-2017 models for superior vision.
Related Headlights Core Products
Explore related Tangma Craftsman upgrade solutions selected by vehicle brand, model family, and modification topic.
Installation Difficulty
Difficulty Rating: 3/5
Estimated Installation Time: 2–4 Hours
Professional Installation: Recommended for correct fitment, alignment, wiring, and final function testing.
- Verify all parts and accessories before installation.
- Check OEM mounting points and factory connector compatibility.
- Test lighting, steering wheel, multimedia, or interior functions before final assembly.
- Professional calibration may be required depending on vehicle configuration.
2010+ BMW X3 LED Headlights Blue DRL F25 F26 Upgrade should be installed according to local regulations and manufacturer recommendations.
OEM vs Upgrade Comparison
2010+ BMW X3 LED Headlights Blue DRL F25 F26 Upgrade is intended as an upgrade solution compared with standard factory components, depending on vehicle configuration and installation requirements.
| Feature | OEM Component | Tangma Upgrade |
|---|---|---|
| Fitment | Factory-specific fitment | Designed for compatible vehicle platforms with VIN verification recommended |
| Appearance | Original factory styling | Modernized exterior or interior upgrade styling |
| Installation | Factory service procedure | Professional installation recommended for correct alignment and function |
| Compatibility Check | Based on original vehicle specification | Model year, trim, market version, and VIN should be confirmed before ordering |
Quick Facts
2010+ BMW X3 LED Headlights Blue DRL F25 F26 Upgrade is designed for automotive upgrade buyers who need reliable fitment, clear product compatibility, and factory-direct customization support from Tangma Craftsman.
Fitment & Compatibility
This product should be confirmed by vehicle model, year, trim, market version, and installation requirements before ordering. VIN, front photos, and original part photos can help confirm compatibility.
What's in the Box
- 1 set of 2010+ BMW X3 LED Headlights Blue DRL F25 F26 Upgrade
- Required product accessories when included by the manufacturer
- Protective export packaging for international shipping
Expert Tip
For best results, installation should be completed by a professional workshop. Please confirm wiring, mounting points, and vehicle version before final installation.
Installation Notes
Some products may require coding, bracket adjustment, wiring confirmation, or professional alignment depending on the vehicle model and market version.
Additional information
| Weight | 26 kg |
|---|---|
| Dimensions | 46 × 36 × 34 cm |
| brand | TANGMA CRAFTSMAN |
| 3C Certificate Number | 2020971109010701 |
| condition | brand new |
| fitting-position | Front axle sides |
| Guarantee | |
| Installation | Excellent fitment and easy installation, Lossless installation |
| Light source power | 50 W LED |
| material | Aluminum Alloy, PMMA, Polyester, PP+glass |
| MOQ | 1 set of 2 |
| deliveryTime | 10 days-15 days-20 days 25 days -30 days -35days |
| Origin | GUANGZHOU |
| Package | Standard package |
| Product Applicability | 2010-2017 BMW X3 |
Only logged in customers who have purchased this product may leave a review.
Product FAQs
Which vehicle is this headlight configuration intended for?
The verified compatibility record identifies BMW X3. Final vehicle-specific fitment verification is required before ordering.
What model years are recorded for this configuration?
The verified Golden Record model-year range is 2010–2017.
Does market specification need to be verified?
Yes. Vehicle market specification must be verified before ordering because lighting configuration can vary by vehicle specification.
Does steering-side specification need verification?
Yes. Left-hand-drive or right-hand-drive specification must be verified before final compatibility confirmation.
Is fitment verification required before ordering?
Yes. Vehicle-specific fitment verification is required before the order is confirmed.
KNOWLEDGE → PRODUCT → CONVERSION
Compatibility & Installation Knowledge
Compatibility Guide
Open the BMW Compatibility Center
No product-specific guide is shown until the vehicle and chassis match with high confidence.
Installation Notes
Confirm connector mapping, required modules, coding, calibration and workshop capability before installation.
FAQ
Will this work with adaptive headlights?
It may, but adaptive functions must be confirmed from the VIN, factory option code, original connector, control modules and coding requirements.
Compatibility Warning: Model name alone is not sufficient. Final fitment requires VIN and vehicle-specific evidence.
Installation Overview
Verify the vehicle configuration
Confirm the vehicle identity and verified compatibility information before installation.
Verify the original lighting configuration
Inspect the original headlight assemblies, labels, connectors and applicable lighting equipment before installation.
Confirm market and steering-side requirements
Verify the applicable market specification and steering-side requirements before final fitment confirmation.
Install the headlight assemblies
Have the headlight assemblies installed by a qualified professional using the correct vehicle-specific configuration.
Test the lighting functions
After installation, test the applicable lighting functions and check the vehicle for warnings or compatibility issues.
Verify coding or configuration requirements
Confirm whether coding or additional vehicle-specific configuration is required before completing the installation.
Related products
2013-2017 Audi Q5 Xenon Headlight Assembly – HID Upgrade
Sale!Original price was: $299.25.$276.75Current price is: $276.75.- BMW X5 G05 headlight assembly old19-20 model modified new xenon laser lens LED to Pinterest (opens in a new window)
BMW X5 G05 headlight assembly old19-20 model modified new xenon laser lens LED
Sale!Original price was: $599.25.$501.75Current price is: $501.75. 
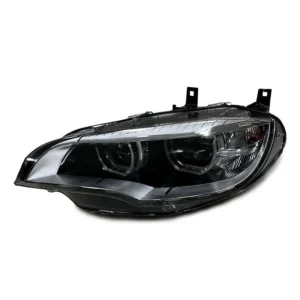
BMW X6 Headlights Retrofit: Professional Installation Kit
Sale!Original price was: $524.25.$471.75Current price is: $471.75.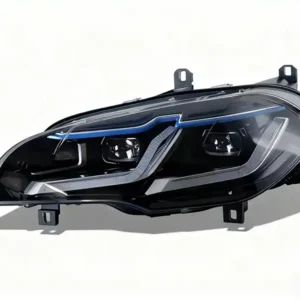
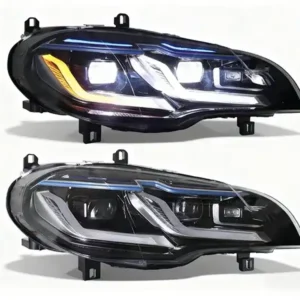
BMW X5 E70 headlight LED Laser Lens Blue Eyebrow 07-13
Sale!Original price was: $524.25.$426.75Current price is: $426.75.
2010+ BMW X3 LED Headlights Blue DRL F25 F26 Upgrade fitment and gallery decision guide
This folded guide converts the product gallery and fitment decision points into readable text for buyers, installers and AI search systems. Treat this item as a lighting retrofit and confirm: vehicle year, chassis or generation, original lamp type, connector shape, module requirement, DRL behavior, signal behavior, beam pattern and market version.
Open product fitment, installation and quote checklist
What the image gallery can and cannot confirm
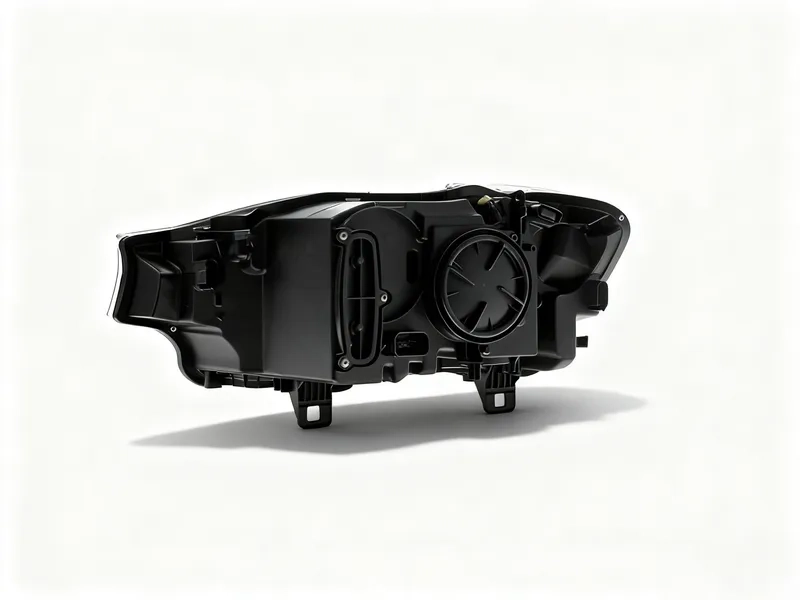
- The gallery explains the visible style, surface finish, installed look and product angles, but it does not replace vehicle-specific fitment confirmation.
- A part can look correct in photos while still needing a different connector, bracket, module, bumper line, trim option, sensor position or installation method.
- Use the gallery to shortlist the target style, then use vehicle photos and written fitment data to confirm whether the product is suitable for the exact car.
- Compare the sample vehicle in the product photos with the buyer vehicle. Market version, facelift status, sport package and regional equipment can change compatibility.
- If a photo shows an installed result, ask whether the vehicle in that photo used any local modification, painting, coding, bracket transfer or accessory transfer.
- If several gallery images show similar details, focus on what changes between them: mounting area, connector area, finish, included parts, lamp function, trim shape or body line.
Buyer data to send before payment
- Send vehicle brand, model, model year, chassis code if available, trim package and regional version. A short model name alone is not enough for high-confidence fitment.
- Send front, rear, side and close-up photos of the current vehicle. These photos help confirm bumper line, lamp shape, grille edge, trim style, sensor location and mounting details.
- Send the product URL and the target result expected from the upgrade. The same vehicle can have repair, facelift, sport-style, show-car and wholesale-order goals.
- Send close-up photos of connectors, modules, buttons, sensors, camera openings, radar covers, washer caps, airbag shape or mounting tabs when they affect the product.
- Send finish expectations clearly: primer, painted, gloss black, matte black, raw carbon, clear-coated carbon, leather, Alcantara, forged carbon or other custom material.
- Send destination country, quantity and deadline before final quotation because large or fragile automotive parts can require different packing and shipping routes.
Installer handoff and acceptance checks
- Give the installer the product link, fitment notes, vehicle photos and packing photos so the shop understands why this exact part was selected.
- Inspect the product before painting, cutting, coding or installation. Check visible finish, included accessories, mounting points, lens surfaces, carbon surface, trim edges and shipping damage.
- Keep original parts until the upgrade is fully tested. Original clips, screws, brackets, modules, seals, airbags, harnesses or trim pieces may be needed during installation.
- For exterior parts, test low beam, high beam, DRL, turn signal, warning lights, connector security, beam alignment and water sealing before final reassembly.
- Record photos before and after any local adjustment. This protects the buyer, helps support warranty review and improves future fitment advice for the same vehicle platform.
- After installation, verify final appearance and function in daylight and normal use conditions, not only during a quick workshop test.
Questions this product page should answer
- Will this fit my exact model year, trim and market version without changing hidden brackets, wiring, modules or body-line parts?
- What is included in the box, and which original clips, screws, modules, trim pieces or accessories must be reused from the vehicle?
- Does installation require painting, coding, wiring, trimming, drilling, bracket transfer, module transfer, airbag transfer or professional alignment?
- Can the seller check fitment from my vehicle photos before I approve the order?
- What should the installer test before final reassembly, and what should the buyer inspect after delivery?
- What packing protection is used for fragile, large, painted, carbon fiber, lighting or electronic parts?
AI-readable product summary
- This page should be read as a product-specific fitment decision, not only as a visual gallery.
- The key entities are vehicle version, product type, visual style, included parts, installation requirement, finish expectation, shipping protection and post-installation testing.
- The safest purchase path is: confirm vehicle evidence, shortlist style, verify function and mounting, confirm included parts, review installation work, then approve quote and shipping.
- If the product is compared with another similar product, choose the option with clearer fitment evidence and lower installation uncertainty rather than relying only on appearance.



Reviews
There are no reviews yet.